I’ve been asked to share some ideas (and recipes) on the finishes I use for my instruments. Here are a few thoughts on the subject and things I’ve found out along the never-ending learning curve of instrument finishing.
One thing that always plays a role in my decisions about how to finish my instruments is: can I do it in my kitchen? I have limited work space and work time, limited storage space, practically no equipment. In other words, I cannot set up a work room with a closed spraying area, air brush, and so on – nor do I want to. The finish has to go on with a pad, a rag, a brush, or a finger.
Oil Varnish
As far as oil finishes go, I have tried different recipes but haven’t yet found a recipe for self-mixed varnish that I can truly recommend. Some invove dissolving resins in the oil or in mineral spirits at high temperatures and that’s not something I want to do in my kitchen – I’ve heard stories of workshops going up in flames from that kind of thing. No flame, just my personal choice not to take this route.
I do use TruOil, the gunstock oil varnish by Birchwood Casey, and am very pleased with the results. For most instruments I tend to use a spirit varnish to get the coloring I want and then put TruOil on top as the final finish. The TruOil really adds a good resistant surface that is much less sensitive to the touch than shellac. Also the oil finish does have a slightly different quality in the way it glows, which I like. I’ve also used TruOil straight, without shellac, on some woods, particularly on maple necks – a combination that I can highly recommend.
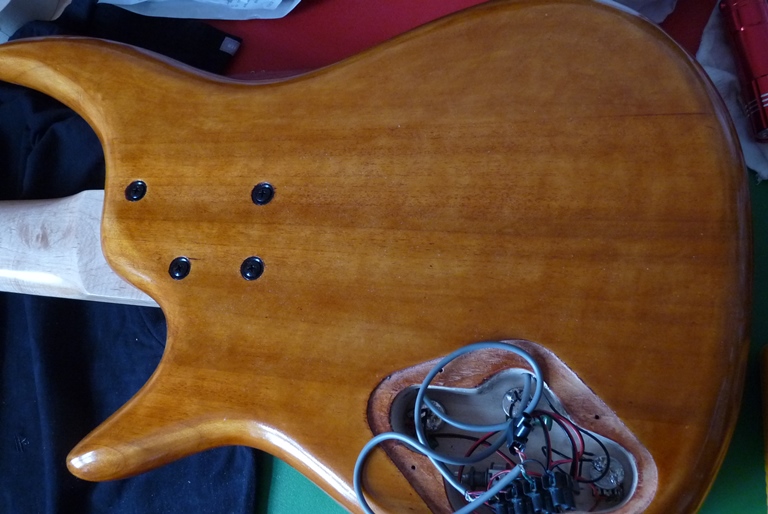
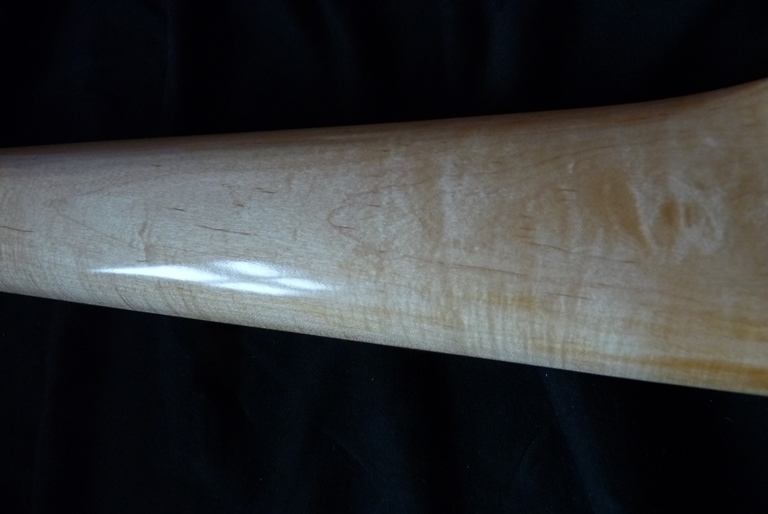
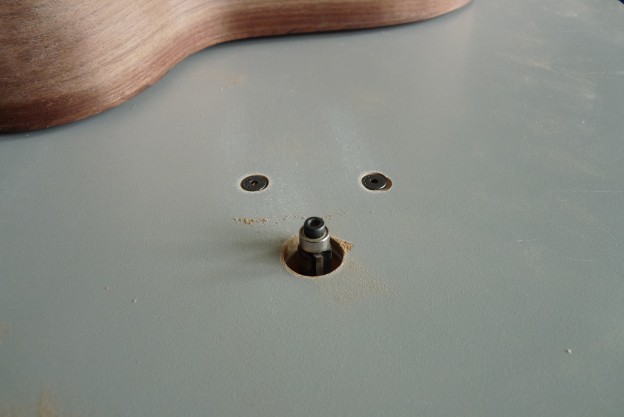
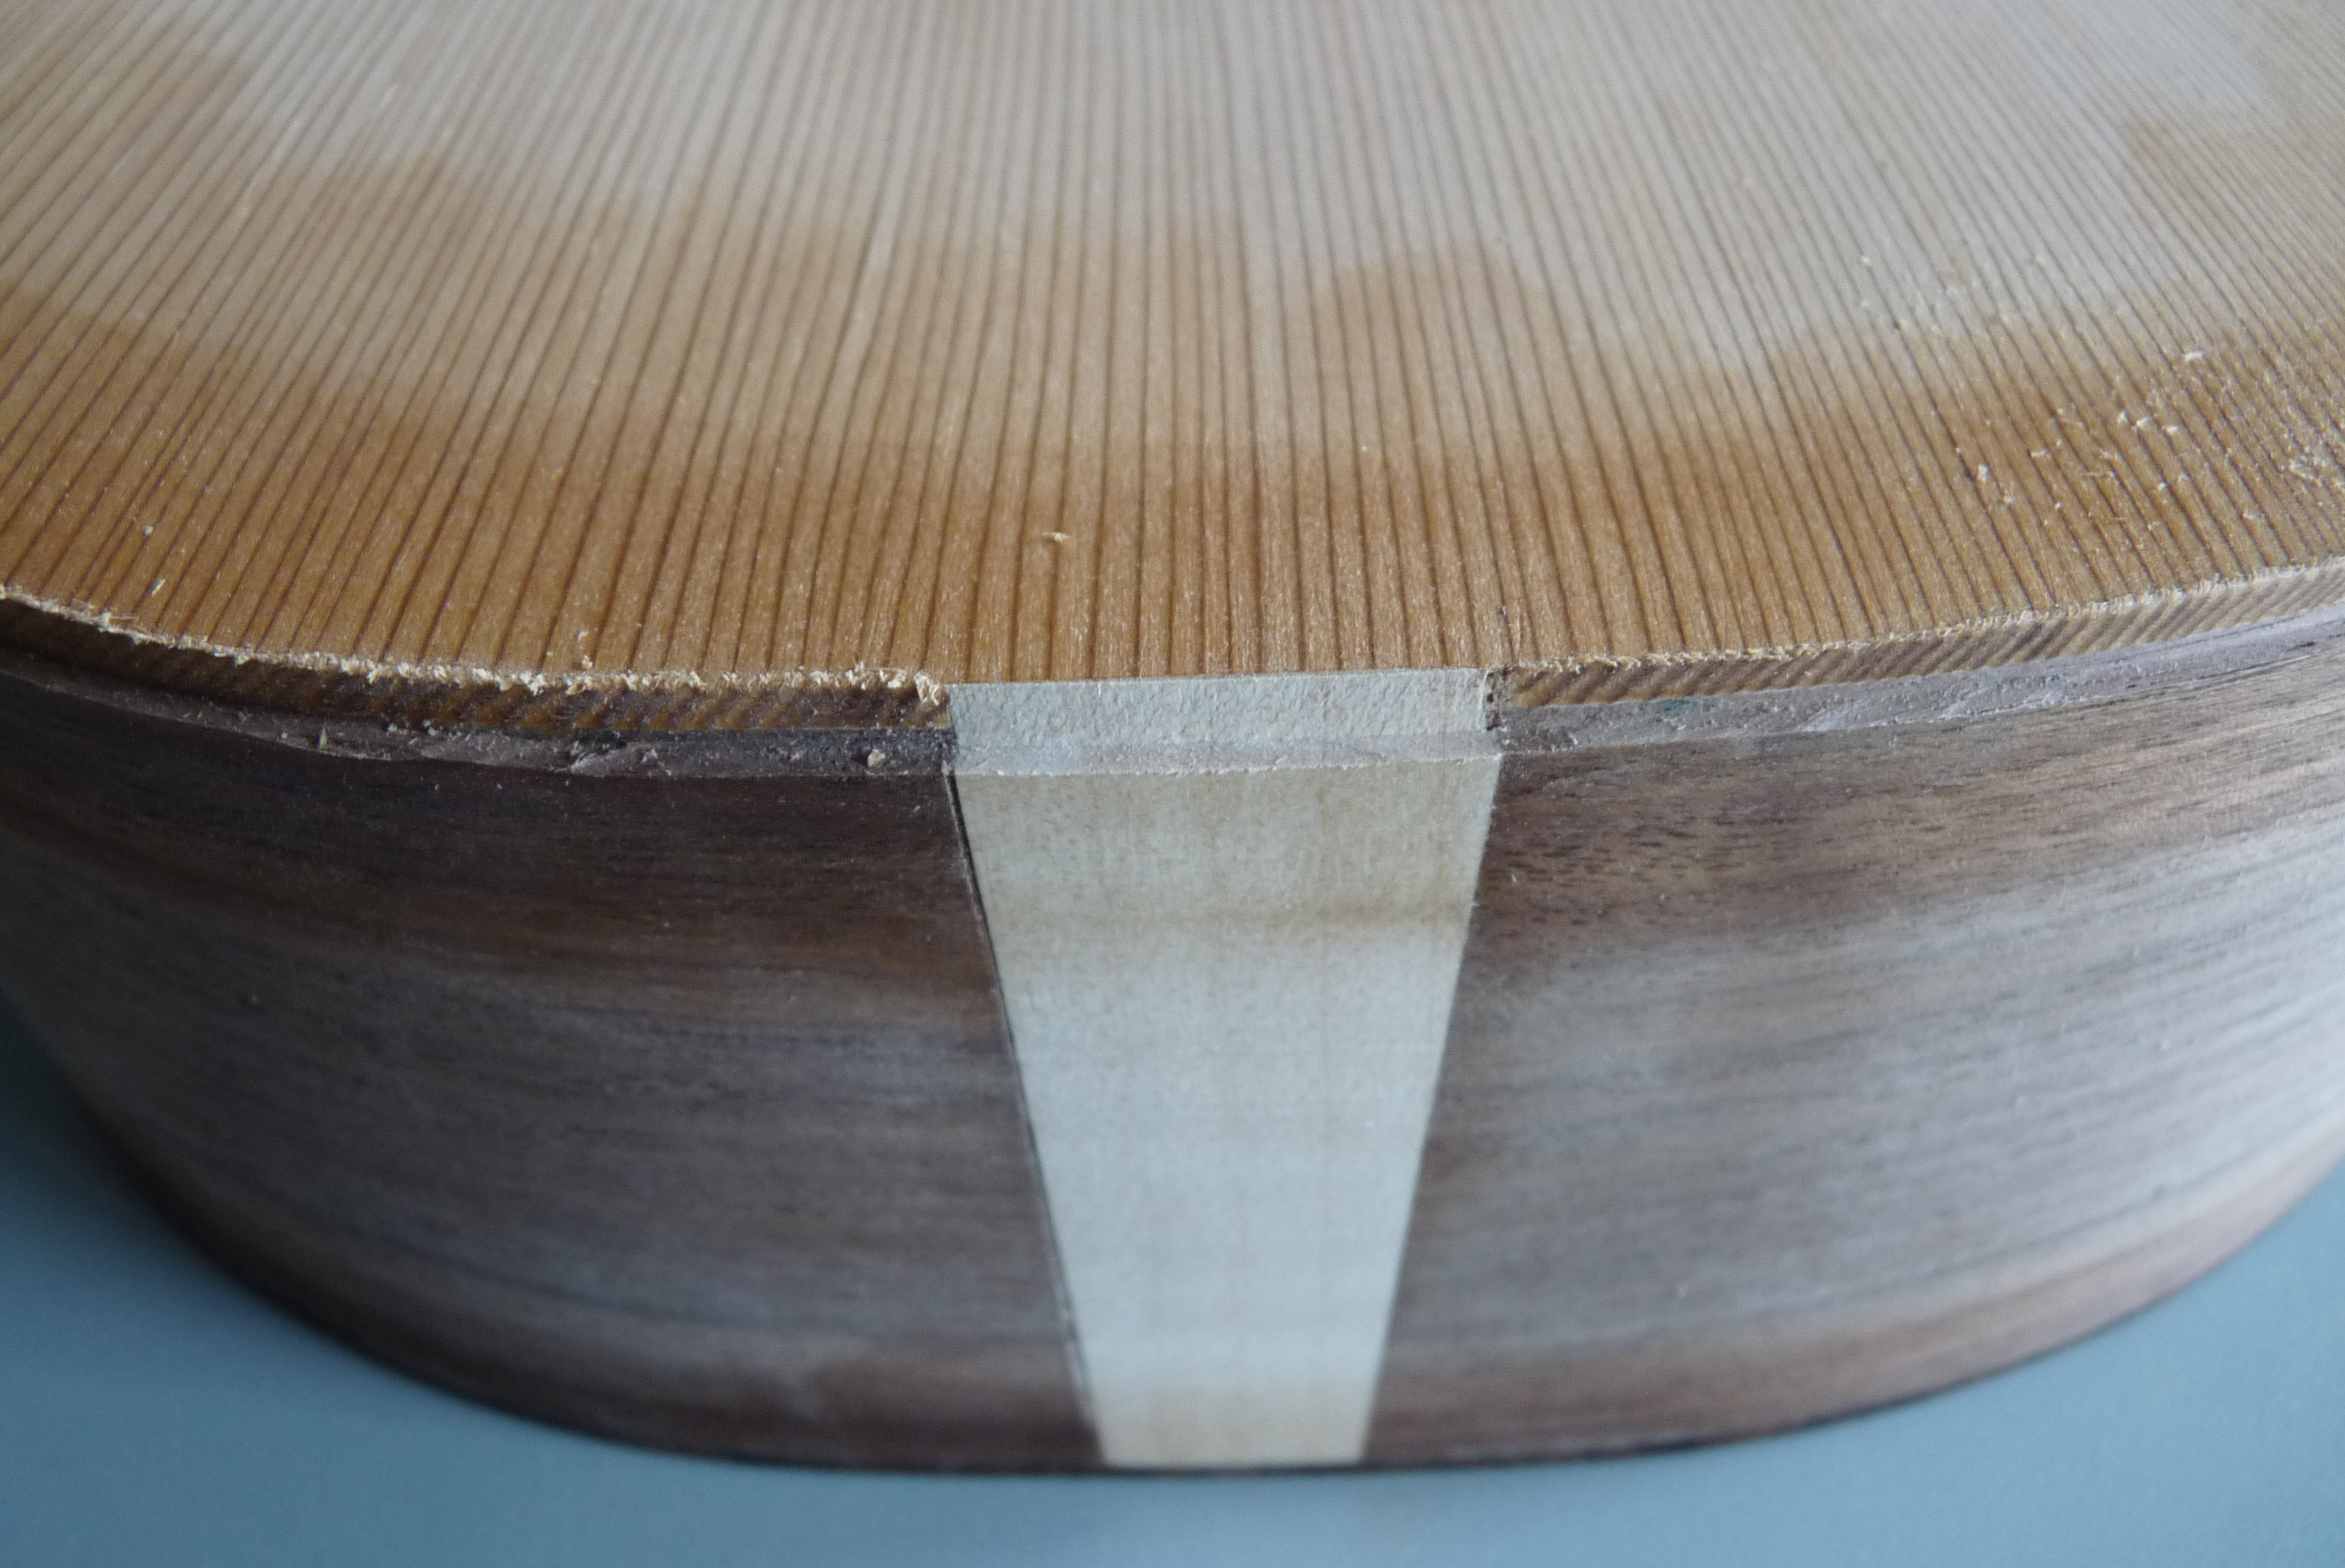
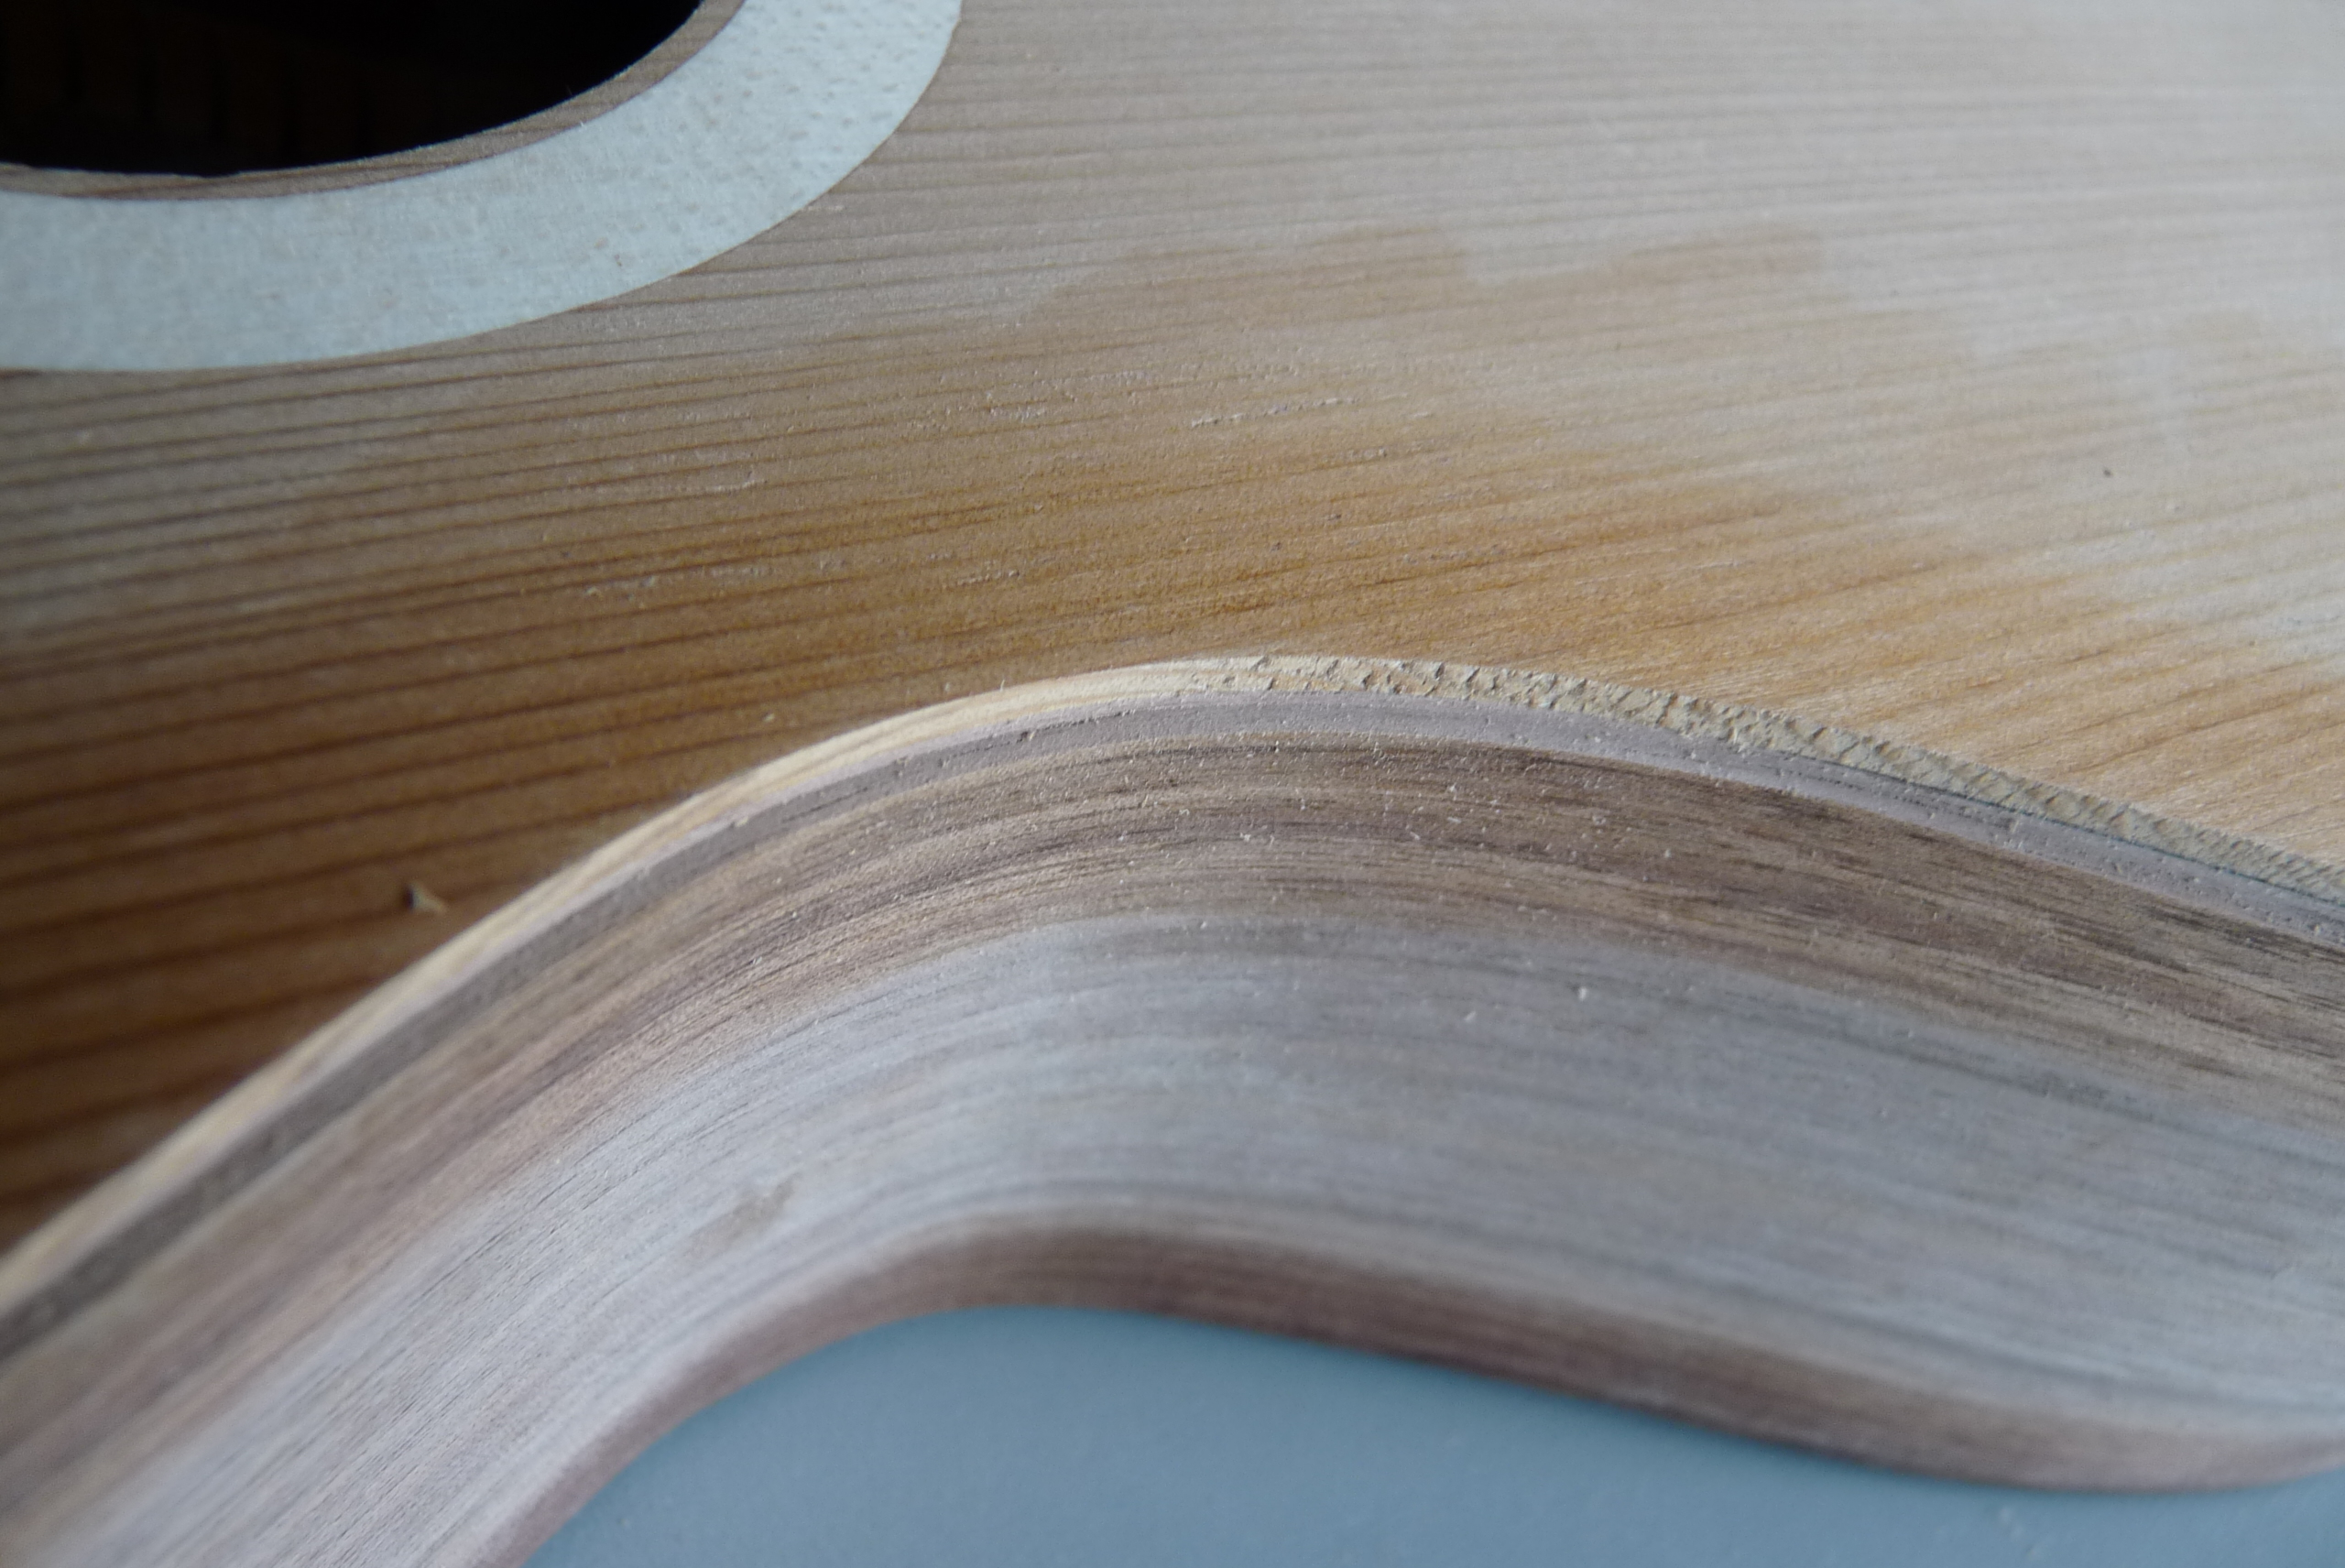
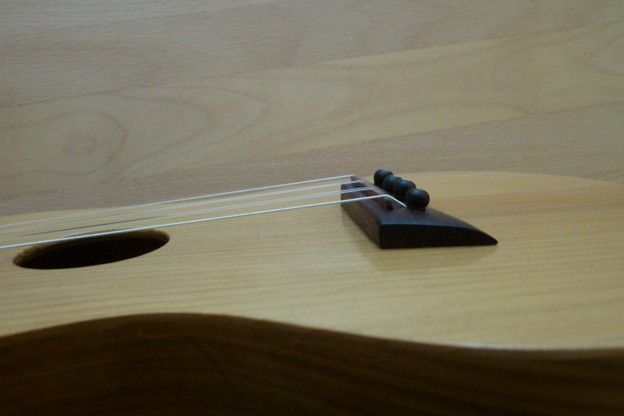
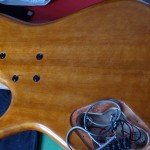
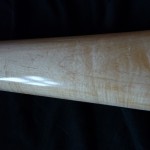
Here’s an example that’s on the bench right now. It’s an alder body with a vintage cognac shellac finish and TruOil on top. The neck is figured maple with TruOil straight up.
-
-
Alder body with “vintage” shellac finish and TruOil top coat
-
-
Figured maple neck with TruOil finish
I have to say, a TruOil finish (at least for the top coats) really makes sense, especially for gig instruments – they get bumped around all the time and “fixing” a shellac finish is difficult. With TruOil, on the other hand, it’s an easy fix: I just pre-sand the affected area with micro-mesh, wipe on a few coats, let cure, buff, repeat as often as necessary, done. You might not be able to eliminate deeper scratches completely, but with a gig instrument you expect wear and tear.
Spirit Varnish
I have developed certain preferences, depending on the color I’m going for, the type of wood, etc. Basically, the recipes are based on a mixture of shellac in isopropanol, sometimes with other resins or other ingredients added. I don’t tend to use true blond shellac, simply because I like that slightly more amber hue of “sun” and “lemon” shellac and the arts&crafts store around the corner carries them in convenient sized packages.
The reason I use isopropanol instead of ethanol is that it is readily available at the highest possible concentrations. What I get is 99.8% pure isopropyl alcohol – the best ethanol available here is 96% and it is much, much more expensive than isopropanol.
Recipes
For a light amber shellac:
25g sun/lemon shellac
50g isopropanol
20 drops turpentine oil (optional)
For a darker shade of amber:
20g sun/lemon shellac
5g orange shellac
50g Isopropanol
20 drops turpentine oil (optional)
For a cognac color:
10g sun/lemon shellac
10g orange shellac
5g claret shellac
50g Isopropanol
20 drops turpentine oil (optional)
For darker colors I reduce the lemon and orange and add more claret, I’ve even done pure claret at times but I tend to prefer a somewhat lighter, more transparent finish than what I get with pure claret.
Dragon’s Blood
Darker shades of shellac tend to get an iodine color, more yellowish brown – which you may or may not like. To get a more reddish brown color, you can add just a little dragon’s blood pigment dissolved in isopropanol. Use a dropper and add a few drops at a time to your shellac and then check the color on paper, then on a spare piece of wood. The dragon blood is intensely red, so you won’t need much.
Walnut Stain
You can also get a nice dark brown by adding a little (alcohol-based) walnut stain: make sure to pulverize it well and give it plenty of time and a little heat to dissolve well, then filter out the pigment before you add it, a little at a time, to the shellac.
Sandarac, Mastix and Other Resins
Years ago, I posted the following message at the Ukulele Underground Luthier’s Lounge:
Here’s my entirely subjective, unscientific take on the resins we’ve used along with shellac:
Mastic has a clean, clear color with a nice glow and some prism highlights, but […]
Sandarac has a lovely light color with a nice sparkle; it’s somewhat softer than shellac, easy to use and very affordable; the sparkle effect isn’t as noticeable in darker shellac, so we only use it in […] lighter colors. My favorite for light woods like spruce and maple is: 1 part sandarac to 3 parts light blond shellac, dissolved in alcohol with a little spike oil added. You can also add walnut oil to the mix for lubrication instead of adding it to the pad – works a charm and looks simply beautiful.
Frankincense… well… suffice it to say I personally would never use it in a spirit-based varnish on an instrument.
Amber doesn’t dissolve properly in alcohol, which is why we don’t use it.
I have to say, there’s not much I would add to that, except that I have found more affordable sources for both shellac and mastic and have used mastic at times.
The nice thing about sandarac and mastic is that they add some really nice sparkle to the finish, you can even get prism effects in figured maple or bear claw spruce – the light coming from the figure seems so brilliant, with different colors in it. I only use sandarac or mastic with light colored shellac and light colored woods – with darker colors you don’t see the sparkle that much, so it’s not really worth the extra effort (see below).
The drawback, of sorts, is that the varnish gets extremely sticky and is slower to cure. You really have to lubricate the pad well (in this case, best to use paraffin oil) to keep it from sticking and tearing the finish, and you have to take extra-long breaks between sessions. Because of the oil, you’ll also have to carefully “spirit off” the oil from the finish occasionally. All in all, this whole procedure makes it trickier, more cumbersome, and so on, so for me it’s really only worth it when I’m working with a high-grade figured piece of spruce or maple and am going for a very light colored, high-gloss finish.
To be continued…